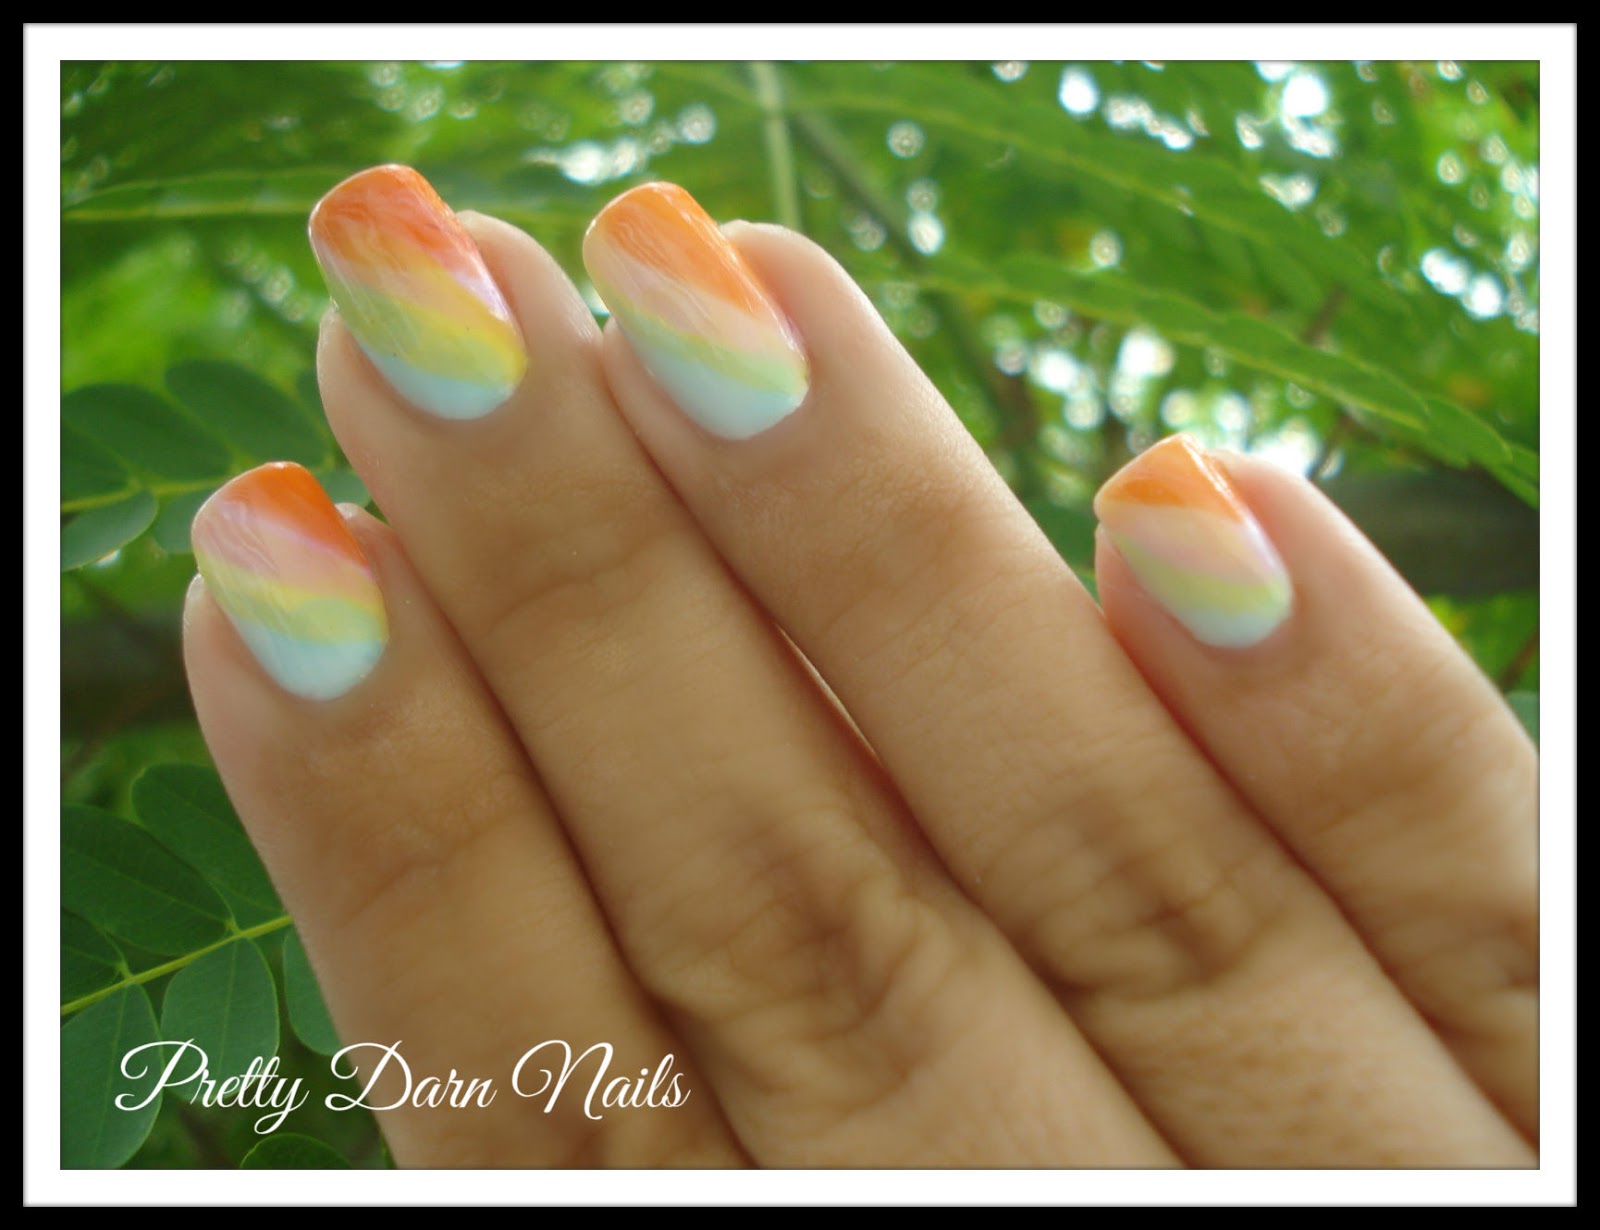
Wednesday, December 3, 2014

BORN PRETTY 07 Butterfly Stamping Plate Review


Hi Lovelies!

Today I'll show you a cute mani I did using the Born Pretty 07 plate. They now have their own brand name plates. I personally like them and also their price is affordable. This plate is too cute and the images are very well edged and they stamp great. I didn't have any problem with them. So I decided to use the butterfly image because I like them.

This is the plate BORN PRETTY 07 :

This plate is found here

So here is the cute mani I did with this plate


 To achieve this look I used :

  Ciaté Candy Floss as base color
  Mundo de Uñas Stamping Polish in Black #2
  China Glaze Travel in Colour 81400

I used the China Glaze to paint the wings of the butterflies and add small dots that sadly the camera didn't pick up (the dots). If you wish to view the pictures closer click the pictures.


So if you're interested in buying this and any other plate you can do so on
Born Pretty Store. You can also use my 10% discount code MATTG10.


Image from BPS- Here


I hope you liked my mani and the info. Any questions or doubts please feel free to let me know. 

Thank you :)


Saturday, November 29, 2014

Deborah Lippmann - On The Beach

Hi friends!

Today I have the pleasure to review this beautiful vivid blue polish that I just love!! I also used Deborah Lippmann Addicted to Speed Top coat. This top coat is fast speed drying and has lots of shine. It is now one of my favorite top coats!

On The Beach has a créme finish and it's a bit watery... It goes on smooth I applied 3 thin coats. This polish is from the Spring 2012 Resort Collection. Deborah Lippmann polishes are 5 free and don't test on animals.


Let's see some swatches and a cute nail art I did.

On The Beach polish retails from $16 to $18. 


The Addicted To Speed Top Coat retails from $16 to $20.


Click picture to enlarge
                 

Click picture to enlarge

I also did a pretty flower nail art with acrylic paint and with rhinestones.

Hope you all like it and I recommend this polish and top coat. I didn't have any problem with the application and the drying time of the top coat.

I must confess that this and the other Deborah Lippmann Polishes I'll be reviewing in the future were sent to me by my nail buddy.  Thanks Brooke ;)


This is my honest opinion.

Monday, November 24, 2014

Colores de Carol Winter/Holiday 2014 Nail polish Collection Review


Hello Lovelies!!!

Today I bring to you the whole 2014 Winter/Holiday Collection from Colores de Carol.This collection has 9 polishes and 2 of them are glitter topper's. The colors are gorgeous! Her polishes are 5 free. Hand Mixed Nail Lacquer.

Click to enlarge

Click to enlarge


Lets start with Stockings: This is one of my favorite, although I like them all! As you can see this polish is a white crelly base with green and red glitter in different shapes. I used 3 thin coats.


Click to enlarge


This is Mittens: a light grey holographic liner with a pink shimmer I used two to three thin coats sorry my crappy camera doesn't do it justice!

Click to enlarge


This is Blanca Navidad: Is a beautiful clear base glitter topper with snow flakes and holographic glitter. You might need to place the snow flake glitter since it's a bit heavy, but so worth it.

Click to enlarge


This one is No Peeking: A black crelly base with micro turquoise glitter and a bigger holographic turquoise glitter. I used three thin coats.


Click to enlarge


Next is The North Star: A deep navy blue and what looks like pink and blue shimmer. It's so pretty! I used 2 thin coats.

Click to enlarge

And this is Merry Mistletoe: A beautiful deep green with scattered green micro glitter. It's like having emeralds on your nails.

Click to enlarge


 Here is my second favorite! Stuck in the Chimney: Holographic light red with gold micro glitter. I applied 3 thin coats (hence my nails are long, you may need less if your nails are short) 

Click to enlarge

Glitter Garland: It's clear base glitter topper with different size glitter's in various shapes as seen at the picture. So cute!

Click to enlarge

And last but not least my #1 favorite of this gorgeous collection is Caramel Swirl !! A beautiful caramel like holographic linear with some micro glitter or flakies. I'm so in LOVE with this color. I always thought my favorite was going to be Stuck in the Chimney, but I was wrong! I can't stop looking at my nails!

Click to enlarge


Colores de Carol has so much to offer in this collection as in her other polishes. They are of good quality and she's so sweet and has very good customer service. If you're interested in getting this collection or any other of her polishes you can get them at Colores de Carol bigcartel Store . Her FB is Here . 


Monday, November 10, 2014

I'M BACK!!!

Hi Lovelies!!! It's been months since I last blogged... I know it's my fault. I get to over whelmed and sometimes think if it's worth it, but the other day I read an article from the talented and most nicest and funny gal and fellow blogger Polished Ways, who gave me the motivation to start blogging again. If you want to read her blog article you can go Here , she also has a Facebook which is Here .

I always wondered how can these girls manage to keep up with their blogs and so many other social media pages etc. My problem is NOT being organized. I have to start a routine and stick by it and make sure nothing is standing in my way!! I really enjoy writing and reviewing things I buy or that are sent to me. The only problem I sometimes have is on how to express what I want to write. I hope this makes sense to you and understand what I'm writing! jaja

Moving on to the article, it states that first of all- if you want to start blogging you must know exactly what you want to blog about. This is so true! You can't just start blogging on anything you're not familiar with or know nothing about.You must be passionate about what you want your blog to be.

I want to thank Polished Ways for her great article that really helped me and I'm sure has helped and inspired so many other's.

Anyway I just wanted to let ya know that I will be posting more often and that I really missed my blog! Even if I don't have lots of follower's or even if no one reads them! jaja

Cheer's yours truly


Tuesday, July 1, 2014

Born Pretty Store Nail Stamp Review


Hi Lovely's! Hope you are all having a great day. I have been a bit MIA these days and not posting often. Sometimes I get overwhelmed with all the house chores and other things I have to do... But I'm here today to show you a nice nail sticker or nail stamp.

First this gorgeous Peony Vine nail stamp sticker was sent to me from BornPrettyStore for an honest review and that's what I'll do. It only comes with one nail stamp and it can easily be applied in two nails or one if your nails are longer than mine. Here is a picture of the one I got:


It's quite easy to apply if you look carefully at the pictorial step by step :


1-Paint your nails with desire color
2- Cut out the area of the nail stamp you are going to use or use it all if your nails are long.
3-Apply the nail stamp with the sticky side down and gently position it as you wish.
4- Then slowly add drops of water and pat gently down with finger until you feel it is apply and softly slide the paper down and make sure the image has stick to the nail.
5- Remove excess water with a napkin.
6- Last add a top coat and your done!

Let me be honest...At first I didn't understand the instructions until I messed up a piece of it Lol. 
So I only got to do one nail with it. Here is the result and I hope you like it.


If you like this nail stamp sticker and would like to see other designs you can find it at : 
Nail Stamp Water Decal . Remember that BornPrettyStore ships FREE WORLDWIDE!! You can also use my 10% off  CODE- MATTG10 .

Thank's for your support and please leave any question or comment if you need to.


Tuesday, June 17, 2014

Born Pretty Store Stamping Plate QA59 Review


Hi Lovely's!

Today I'll be showing you a plate I received for review from Born Pretty Store. The plate has 9 cute images which include floral and paisley designs. The plates from this online store are of very good quality and I only speak for myself since I've never had any negative experience with them. If you're interested in purchasing this or any other item you can do so by visiting  Born Pretty Store . They offer Free Shipping Worldwide.

 So I decided to do two different manis using two of the images. This is the plate QA59 and can be found HERE


As you can see the images are very pretty and they come with the protecting blue film.


The first thing I did before stamping was painting all my nails white, then I did long side strokes of polish (these are lead-light I did myself) in different colors when the white polish was dry of course.


And then I stamped this paisley image as you can see the two images above; I really like how they came out!


The second image I used was this floral one and let me say is my favorite! Maybe it's because of the green color which I have no idea the name of! The studs on the accent nail...Well I'll leave that for later ;)


I'm very satisfied with how both of them came out and the good quality of the images... 
Remember that Born Pretty Store has Free Shipping World Wide!!! And you'll receive a 10% discount of all your purchase when you use my code MATTG10 when placing the order.


Tuesday, June 10, 2014

Nailthins: 3rd of 3 Reviews and Giveaways (Owl Design)


Hi Girls!!

Today it will be the last review and giveaway from Nailthins. These nail thins are so easy to apply and will last a long time if applied correctly. They come in many different designs. Jenny the owner of nail thins has a FACEBOOK and  You Tube if you are interested in joining her.

So let's started by showing you the Owl nail thins:
As you can see here in the picture below, the owl nail thins are so cute and easy to apply!


 I'm gong to explain the Polish Application so you have an idea of how to use them :
Application begins on CLEAN & DRY polished nails.

-Place the design onto your nail,press and smooth out. Nailthins have a slight "Tack", press it down well.
- Cut excess design film allowing a minimum 1 mm border away from cuticle edge,for proper sealing of design. File in downward motion on nail edge,gently back and forth around cuticle border.
-Smooth entire design again including edges.
- Seal your design with two top coat applications. And you're done :)

If you wish to see how it is done you can watch this VIDEO .

Now on to showing how they look when applied to your nails, this is how I used them:


I hope you really liked them and how I applied them. If you're interested in purchasing these or other style nail thins you can click the nail thin banner below.

Here


AND now to the giveaway... It will be INTERNATIONAL So good luck to all .


a Rafflecopter giveaway